Web应用程序的可以通过URL将多个页面串联起来,并且可以互相跳转。Web应用主要是使用a标签或者是服务端redirect来跳转。而现在流行的单页应用程序 (SPA) ,则通过路由(Router)来实现跳转,如Vue 、React等。
MAUI Blazor的路由
在.NET MAUI Blazor应用中,路由是遵循Blazor的路由规则。也是通过路由组件(Router)实现的,打开Main.razor可以看到:
<Router AppAssembly="@typeof(Main).Assembly">
    <Found Context="routeData">
        <RouteView RouteData="@routeData" DefaultLayout="@typeof(MainLayout)" />
        <FocusOnNavigate RouteData="@routeData" Selector="h1" />
    </Found>
    <NotFound>
        <LayoutView Layout="@typeof(MainLayout)">
            <p role="alert">Sorry, there's nothing at this address.</p>
        </LayoutView>
    </NotFound></Router><!--设置容器--><AntContainer />
在Router 有两个子节点Found与NotFound。
在MAUI Blazor中,路由的定义使用@page指令进行指定。在创建Blazor组件的时候,必须包含@page '路径"。
MAUI路由与MAUI Blazor路由有很大区别
MAUI创建路由是根据Route属性或者通过 Routing.RegisterRoute显式的注册路由。
MAUI Blazor 则是在组件上,使用@page指令指定。
Visual Studio 2022编译器在编译带有 @page 指令的 Razor 组件 (.razor) 时,将为组件类提供一个 RouteAttribute 来指定组件的路由。
当应用程序启动时,应用程序将扫描由Router组件中AppAssembly属性指定的程序集,收集程序集中具有 RouteAttribute 的Blazor组件的路由信息。
我们在上次代码的基础上,增加一个页面。在Pages目录下,新建一个Blazor组件:pdf.razor。创建完成后,默认代码是这样的:
我们使用@page指令指定路由为pdf。并写上几个大字。
@page "/PDF"<Title Level="1">使用iTextSharp生成PDF文件</Title>
然后打开MainLayout.razor,给菜单增加一个MenuDataItem。
new MenuDataItem{
	Path = "/PDF",
	Name = "PDF",
	Key = "PDF",
	Icon = "file-pdf"}
注意:
Blazor组件必须是大写字母开头,如果使用小写字母开头,编译的时候,会报一个错:
Component 'xxx' starts with a lowercase character. Component names cannot start with a lowercase character
xxx是组件的名字。
看下运行的效果:
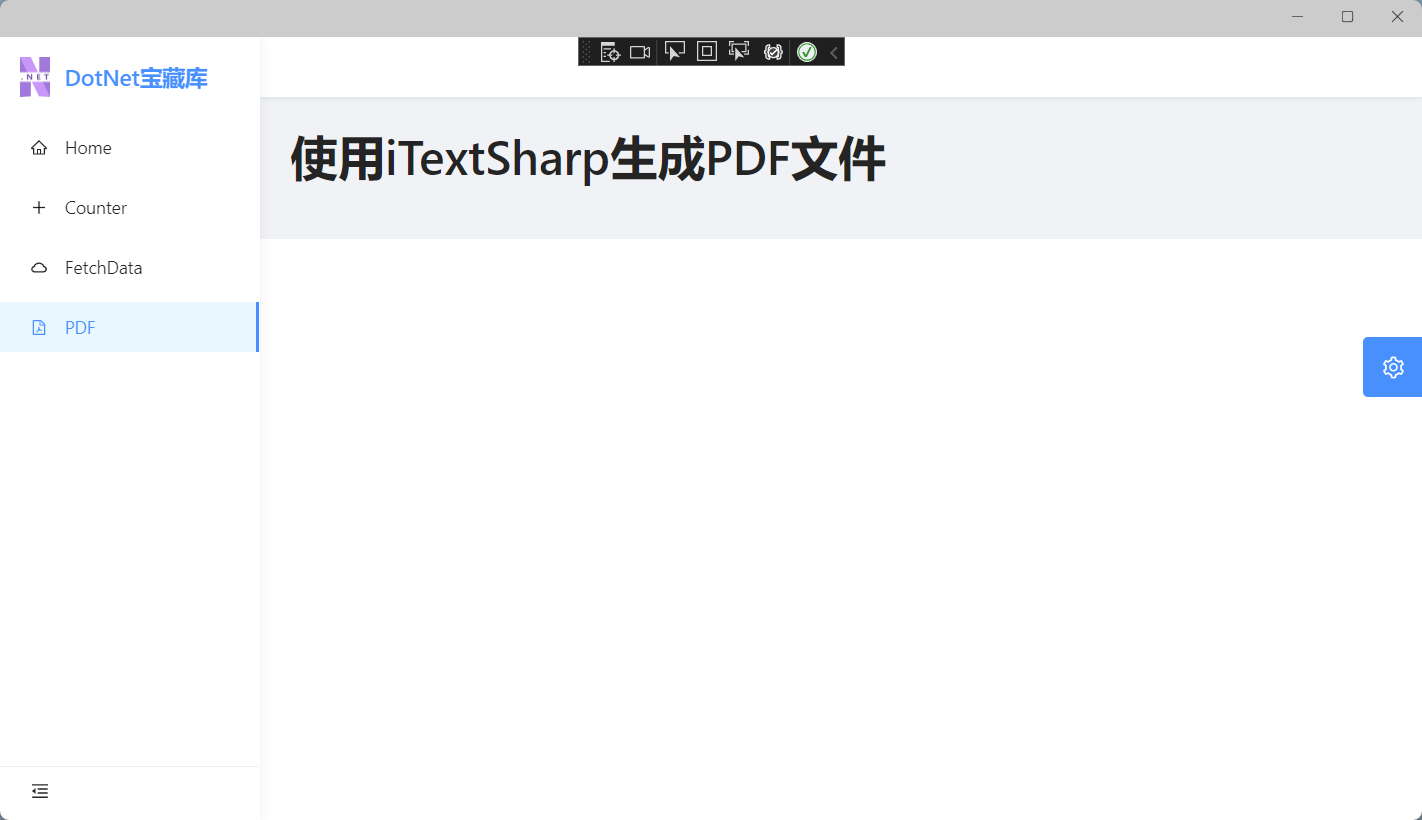
如果未匹配到路由,则会呈现上面的NotFound节点定义的内容。先把NotFound节点的内容稍微改造一下!
<NotFound>
        <LayoutView Layout="@typeof(MainLayout)">
            <div style="text-align:center"><Icon Type="close-circle" Theme="twotone" TwotoneColor="#ff0000" Height="5em" Width="5em" /></div>
            <div style="margin-top:15px;text-align:center"><Title Level="3">页面走失!请确认输入的URL是否正确!</Title></div>
        </LayoutView>
    </NotFound>
在MainLayout.razor中,增加一个MenuDataItem,指向一个不存在的页面:
new MenuDataItem{
	Path = "/DataList",
	Name = "DataList",
	Key = "DataList",
	Icon = "appstore"}
看下运行效果:
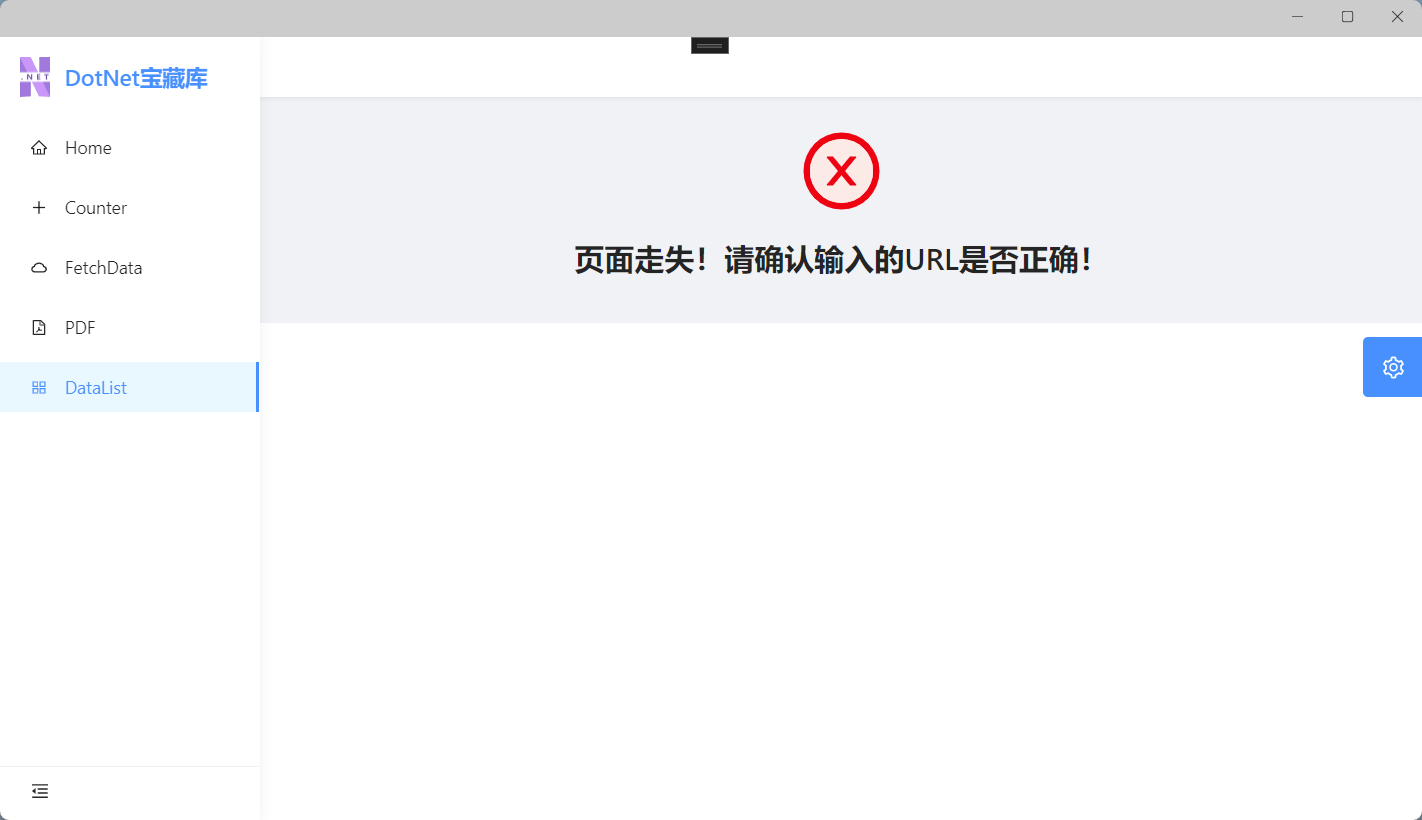
很多场景中,除了点击左侧的菜单跳转外,在页面中也需要进行跳转,Blazor支持的跳转除了HTML标记<a></a>外,还有个NavigationManager类。
NavigationManager类在Microsoft.AspNetCore.Components命名空间下。
改造下Index.razor。
@page "/"
@inject NavigationManager navigationManager
<Title Level="1">Hello,DotNet宝藏库</Title>
<div style="margin-top:15px;"><Text Type="success">欢迎关注我的公众号!</Text></div>
<Divider />
<div style="margin-top:20px;"><a href="/Counter">使用a 标记跳转</a></div>
<div style="margin-top:20px;">
    <Button Danger Type="@ButtonType.Primary" OnClick="()=>DirectToCounter()">使用NavigationManager跳转</Button>
</div>
@code
{
    private void DirectToCounter()
    {
        navigationManager.NavigateTo("/Counter");
    }
}
这时,不论是点击链接还是点击按钮,都可以跳转到响应页面!

路由的过程当中经常需要进行参数传递,以方便我们跳转到的新页面后进行一些操作。
Blazor传参分为两种情况:path传参以及QueryString传参。我们分别介绍下这两种传参的方法。
path传参就是把参数组合在URL路径里,接收参数的页面需要在@page以相同的名称填充参数。并添加Parameter特性对参数进行修饰。
先改造下Counter.razor
@page "/counter"
@page "/counter/{initNum}"

<Title Level="2">Counter</Title>
<Divider />
<p role="status">Current count: @currentCount</p>

<Button @onclick="IncrementCount" Type="primary">AntDesign 按钮</Button>
@code {
    [Parameter]
    public string initNum{ get; set; }

    private int currentCount = 0;

    protected override void OnParametersSet()
    {
        if (!int.TryParse(initNum, out int num))
        {
            currentCount = 0;
        }else
        {
            currentCount = num;
        }
    }
    private void IncrementCount()
    {
        currentCount++;
    }

}代码中,增加了一个@page "/counter/{initNum}"。{initNum}就是参数。
注意参数是不区分大小写的,但是为了更规范,建议URL全部用小写,c#代码则使用驼峰式命名。
还有Blazor并不支持可选参数,所以如果这个例子里面的initNum是可有可无的,则需要使用@page指令来定义两条路由,一条包含initNum,另一条不包含。
OnParametersSet或OnParametersSetAsync中,我们把initNum赋值给currentCount。
修改下Index.razor中的DirectToCounter方法:
 private void DirectToCounter()
    {
        navigationManager.NavigateTo("/Counter/10");
}运行起来,当点击使用NavigationManager跳转按钮后,Counter.razor中的currentCount为10。
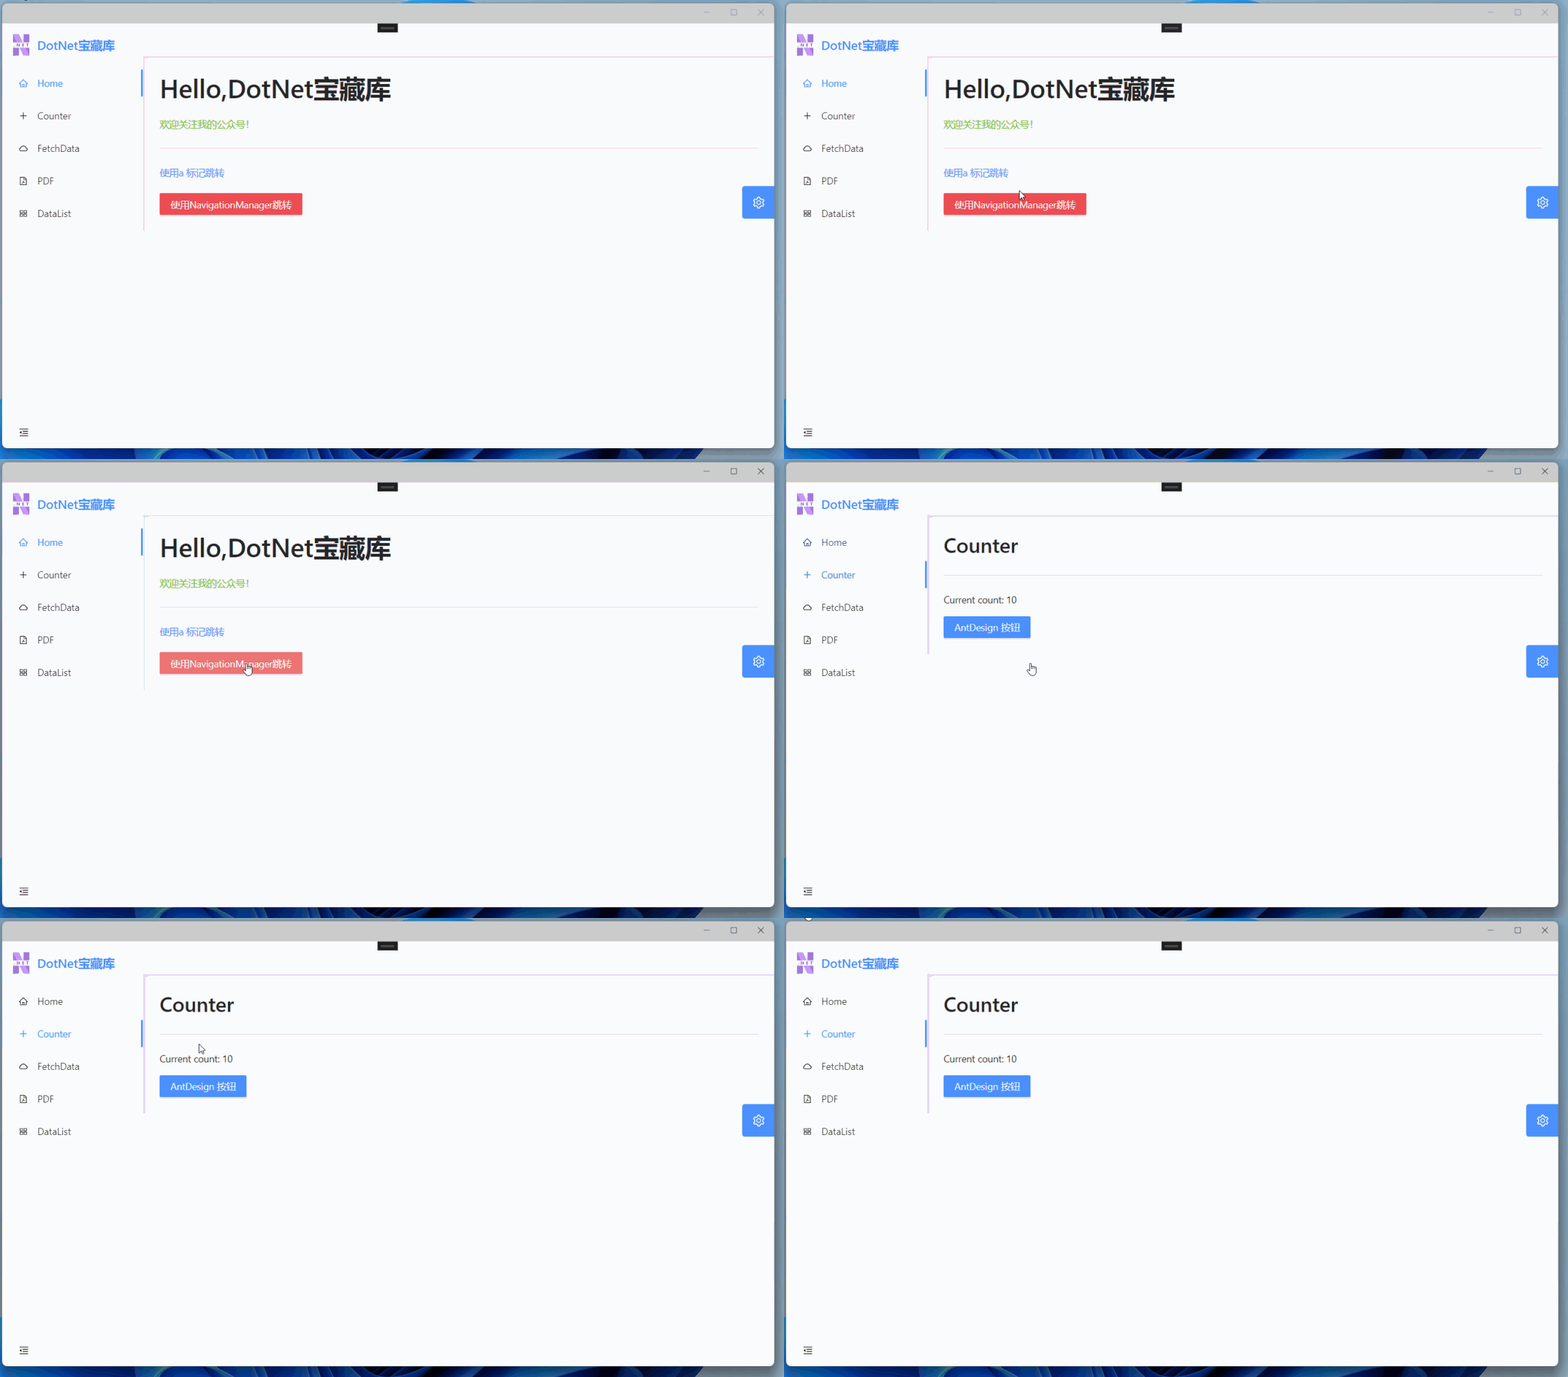
除了把参数直接拼接在URL路径(path)里,另一种常用的传递参数的方法是,将参数做为QueryString传递给跳转页面,比如“/Counter?initNum=3”。我们可从 NavigationManager.Uri 属性中获取请求的查询字符串。
将Index.razor里的
<a href="/Counter">使用a 标记跳转</a>改为<a href="/Counter?initNum=5">使用a 标记跳转</a>
修改Counter.razor,先引入NavigationManager。
@page "/counter"
@inject NavigationManager navigationManager
	protected override void OnParametersSet()
    {
        //if (!int.TryParse(initNum, out int num))
        //{
        //    currentCount = 0;
        //}else
        //{
        //    currentCount = num;
        //}
        var query = new Uri(navigationManager.Uri).Query;
        Console.WriteLine(query);
}断点后,可以看到,从Index.razor点击链接跳转到Counter.razor后,获取到了参数:
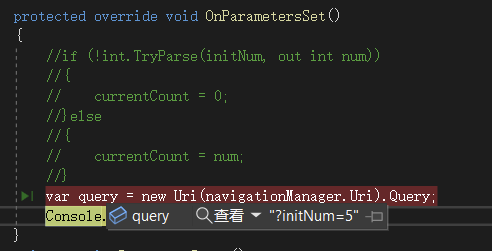
这里有个问题,获取到的参数不是键值对,而是一串字符串。与我们的期望不同。不过还好,我们可以通过QueryHelpers.ParseQuery来获取到键值对信息。
1、添加依赖:
PM> NuGet\Install-Package Microsoft.AspNetCore.WebUtilities -Version 2.2.0
var queryDic = Microsoft.AspNetCore.WebUtilities.QueryHelpers.ParseQuery(query);
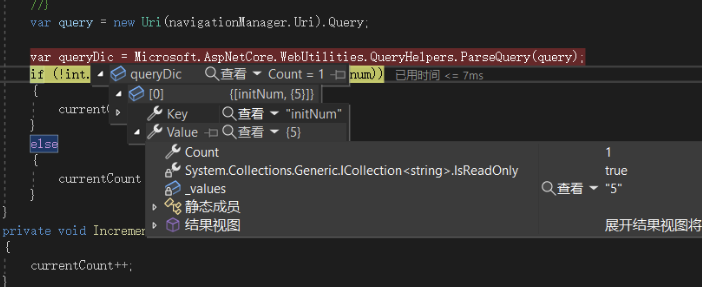
可以获取到参数值了。把代码补充完整:
protected override void OnParametersSet()
    {
        //if (!int.TryParse(initNum, out int num))
        //{
        //    currentCount = 0;
        //}else
        //{
        //    currentCount = num;
        //}
        var query = new Uri(navigationManager.Uri).Query;
        var queryDic = Microsoft.AspNetCore.WebUtilities.QueryHelpers.ParseQuery(query);
        if (queryDic.ContainsKey("initNum"))
        {
            var count_str = queryDic["initNum"].ToString() ?? "";
            if (!int.TryParse(count_str, out int num))
            {
                currentCount = 0;
            }
            else
            {
                currentCount = num;
            }
        }
        else
        {
            currentCount = 0;
        }

}路由约束强制在路由段和组件之间进行类型匹配。像刚才例子中的initNum,我们可以写成@page "/counter/{initNum:int}",路由约束不适用于查询字符串,也就是QueryString传递的参数。Blazor支持以下几种约束类型:
bool
datetime
decimal
double
float
guid
int
long